Salar de Uyuni Photography Guide
My first morning out on the salt, the glare knocked me sideways. It was 6:15 AM, thirty degrees below freezing, and the white crust stretched out until it curved over the edge of the earth. You look through your viewfinder and suddenly your light meter starts lying to you. Every instinct you have about landscape photography breaks down out here. Booking a dedicated salar de uyuni photography tour makes all the difference because regular tourist groups want to rush through seven stops before lunchtime, whereas you need to sit by a water puddle for 45 minutes waiting for the wind to die down.
Getting memorable pictures of salar de uyuni takes more than pointing your phone at the horizon and hoping for the best. Between the blinding sodium glare, the corrosive salt crust, and the high-altitude air that drains lithium batteries in twenty minutes, the place is hostile to camera gear. This guide covers how to expose properly for pure white salt, how to stage perspective tricks without making them look tacky, what lenses actually earn their weight, and how to handle both the dry hexagonal patterns and the flooded mirror season.
Book your Salar de Uyuni tour experience:
Choosing the Right Season for Salar de Uyuni Photos
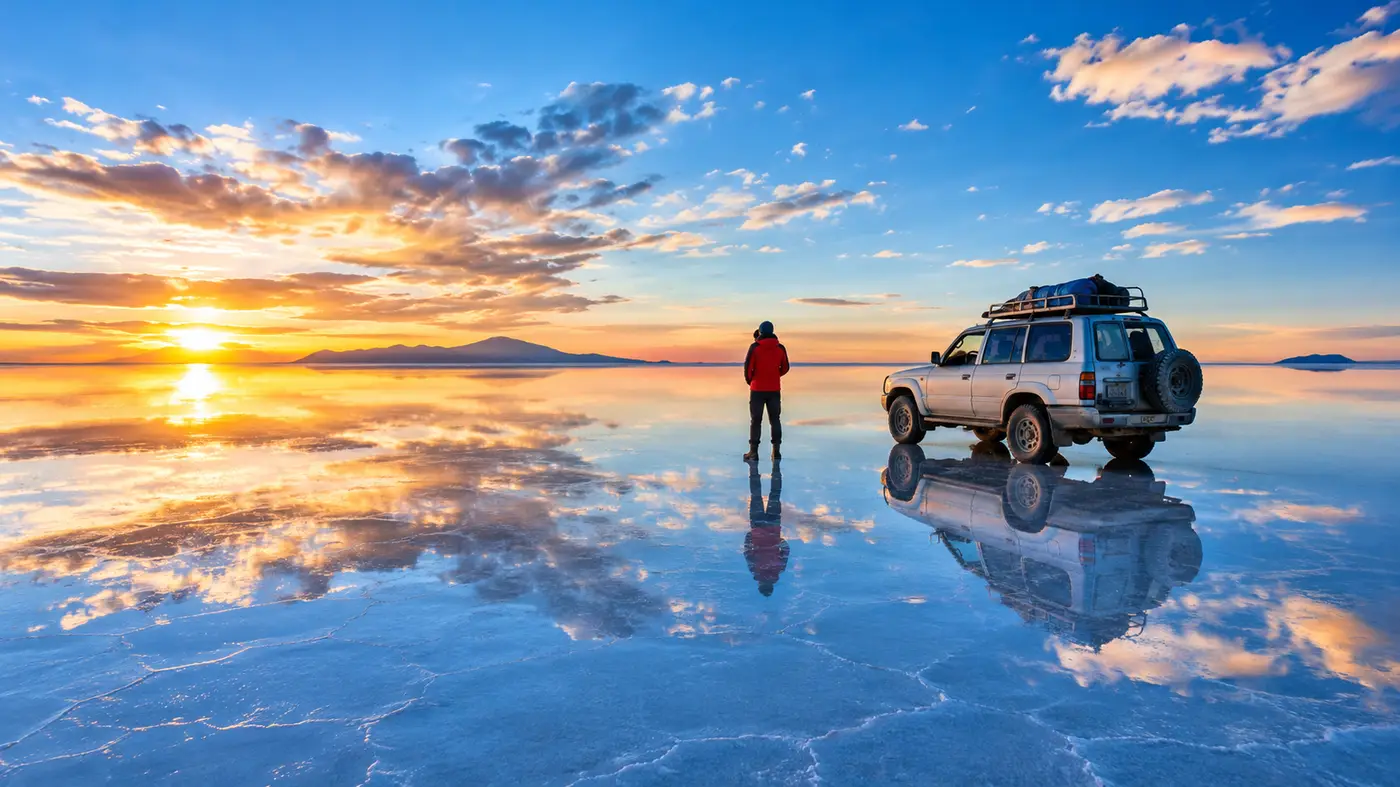
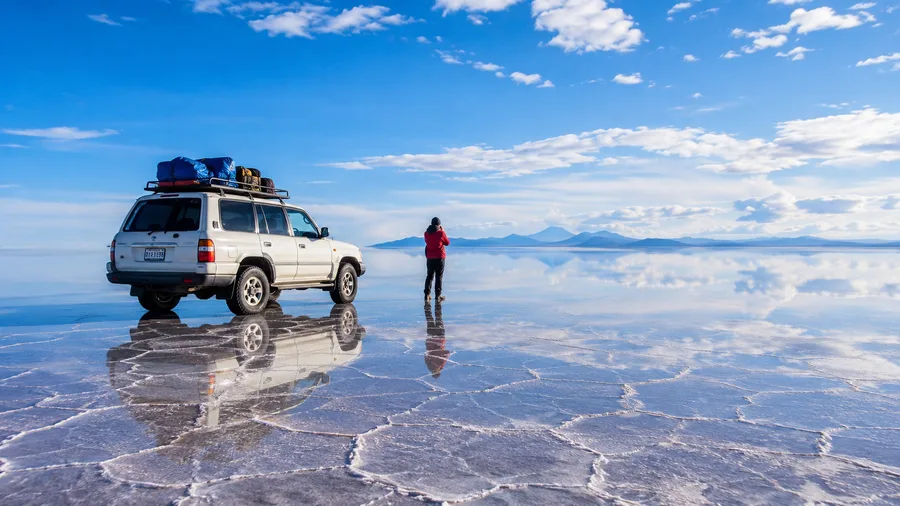
The landscape changes completely depending on what month you arrive. Between late December and mid-April, rainwater gathers across the crust and creates the famous giant mirror. It only takes two or three inches of water to turn the floor into sky, but that water also restricts where your driver can safely go. If you visit between May and November, the salt dries out into an endless grid of raised hexagonal tiles that looks like an alien desert. Both seasons produce unbelievable uyuni salt flats photos, but they demand totally different camera settings and boots.
If you want reflections, plan around the rain, but check our breakdown on the best time to visit Salar de Uyuni because heavy storms sometimes shut down entire sections of the flats. Wind is the quiet enemy during the wet season. A light breeze of five knots will ripple the surface water and destroy your clean glass reflection, turning a surreal double-sky into murky gray slush. Photographers who get those mirror-perfect shots usually catch them at dawn before thermal winds pick up, or late in the evening when the basin settles.
Pro tip: Bring a pair of tall waterproof slip-on boots with neoprene uppers if shooting during the mirror season. The cheap rubber boots rental shops hand out in town leak at the seams after twenty minutes of walking through brine.
The dry season has advantages people overlook. You can drive straight out to Isla Incahuasi, surrounded by giant trichocereus cacti that have stood for three hundred years. The texture of the salt tiles is sharp and crunchy underfoot, giving foreground interest to wide-angle frames that water-covered salt simply lacks. Shadows fall deep into the cracked ridges during low sun, giving you rich contrast that you never get when the ground is flooded.
| Season | Months | Visual Character | Main Challenge |
|---|---|---|---|
| Mirror Season | Jan – Apr | Glass-like reflections, sky double, zero horizon line | Surface ripples, corrosive water splash, vehicle limits |
| Dry Salt Season | May – Oct | Geometric salt tiles, bright white expanse, clear horizons | Harsh daytime contrast, extreme wind, flat light at noon |
| Transitional | Nov – Dec | Dry crust edges with scattered shallow water pockets | Unpredictable mud, hit-or-miss water levels |
Camera Gear and Protection on a Salar de Uyuni Photography Tour
Salt dust gets everywhere. It creeps into zoom rings, coats front elements in fine white powder, and corrodes battery terminals if you are not careful. I watched a guy set his tripod in four inches of saltwater near Colchani; by day three, the leg locks were completely seized with salt crystals. If you submerge tripod legs in the brine, wash them in your hotel shower every night with fresh water. No exceptions, or you will throw the tripod away in La Paz.
You do not need six lenses. A sharp ultra-wide zoom, a standard walk-around lens, and maybe a small prime will cover 95 percent of your compositions out here. I shot most of my favorite pictures of salar de uyuni on a 16-35mm equivalent wide lens because the salt flats are all about exaggerated distance and massive skies.
- Circular Polarizer (CPL): Cuts through the midday glare on dry salt and manages surface reflections during the wet season. Buy a slim profile filter so it will not vignette on wide lenses.
- Neutral Density Filters: A 6-stop or 10-stop ND filter lets you smooth out wind ripples in shallow water during daytime shoots, creating that milky, ethereal mirror look even when conditions are imperfect.
- Sealed Dry Bags: Keep your camera body and spare lenses sealed whenever you ride inside the 4x4. Fine salt dust gets kicked up by the tires and sucked through door seals.
- Manual Lens Blower: Never wipe salt granules off your front element with a lens cloth, because the hard mineral crystals will scratch your glass coating instantly. Blow the dust off first.
- Extra Batteries: The salt sits at 11,995 feet above sea level, and night temperatures plunge below zero Celsius. Keep fresh batteries in an interior fleece pocket close to your chest heat.
Note: Bolivian border authorities and local park rangers occasionally question travelers carrying heavy drone cases. If you plan to fly, check current local park permits at the entrance post to avoid gear confiscation.
Mastering Exposure and Contrast on Pure White Ground
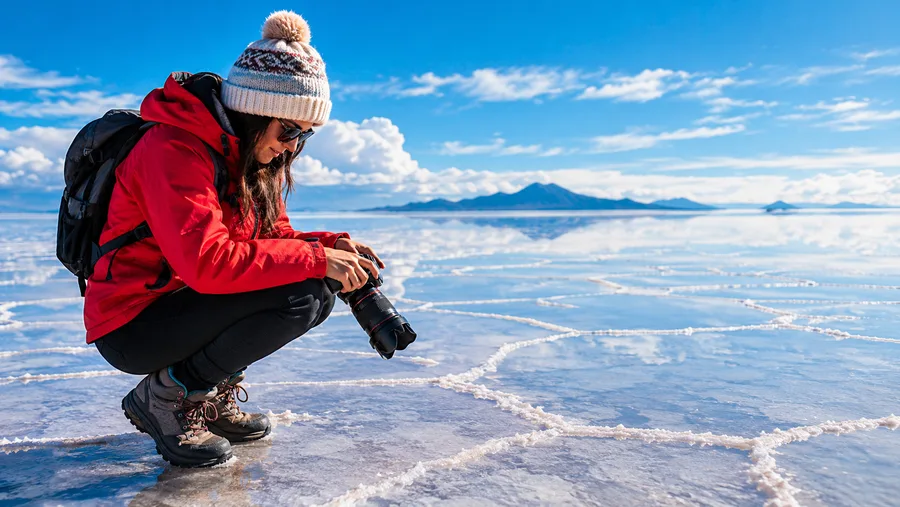
Your camera light meter assumes the world reflects 18 percent gray. When you point it at thousands of square miles of blinding sodium chloride under full sun, the camera thinks the scene is too bright and underexposes everything by nearly two full stops. The result is muddy, dingy gray salt flats photos that look like dirty wet concrete. You have to take control manually.
Dial in exposure compensation between +1.0 and +1.7 EV when shooting dry salt in auto or semi-auto modes. Check your histogram constantly. You want the highlight hump pushed all the way to the right side of the graph without clipping the peak. If you shoot in manual mode, meter off your own palm or a neutral gray card, or simply expose for the highlights and lift the midtones in your raw editing software later.
Midday light on the salar is brutally harsh. Between 11:00 AM and 3:00 PM, the vertical sun turns the white flat into an unreadable whiteout where depth disappears entirely. Use that middle block of the day to travel between locations, eat llama steaks in a salt hotel, or set up funny forced-perspective frames with props. Save your serious landscape framing for the golden hours when the low sun casts long shadows behind every raised salt polygon, bringing out tactile texture that flat noon light completely erases.
Do not forget to bracket your shots. High-contrast sunsets over the salt flats have dynamic ranges that push even modern full-frame sensors to their breaking points. Taking three exposures spaced two stops apart ensures you hold detail in the flaming orange horizon while retaining texture in the dark foreground reflections.
Book your Salar de Uyuni tour experience:
Staging Creative Perspective Pictures of Salar de Uyuni
Forced-perspective photography on the salt flats is a travel cliché, yes, but it is also genuine fun when done well. Because there is no vegetation, no telephone poles, and no landscape features to give the human eye a reference point for scale, the brain loses track of what is near and what is far. You can place a toy dinosaur two feet from your lens and a person thirty feet away, and they appear to stand in the same plane.
Pulling off a clean perspective shot requires specific camera settings. Many travelers fail because their foreground toy looks blurry while their friend in the background is sharp, ruining the optical illusion instantly. You need deep depth of field across the entire frame.
- Aperture setting: Stop down to f/11, f/16, or even f/22. You want a narrow aperture to maximize your depth of field so both objects stay crisp.
- Camera height: Lay your phone or camera directly on the salt crust. A worm-eye view eliminates the middle ground between the two subjects, making the trick seamless.
- Focal length: Use a wider lens, around 24mm or 28mm on full frame. Ultra-wide lenses like 14mm stretch edges too aggressively, while telephoto glass compresses distances and spoils the scale joke.
- Props that work: Bring colorful, easily identifiable items like toy animals, Pringles cans, hiking boots, or cooking pots. Small, detailed objects read much better against the white salt than plain dark shapes.
Take your time setting up. Have your friend move in two-inch increments while you look through the screen. Shouting directions across eighty feet of salt flat is normal out here, and laughing through four failed attempts is half the fun of any group visit.
Shooting Sunset, Twilight, and the Milky Way
Once the sun dips behind the distant volcanoes, the salt basin undergoes a quiet color transition. The blinding white turns pastel blue, then lavender, then deep magenta. If you have standing water on the flats, the horizon disappears completely during blue hour. You stand inside a sphere of cold blue gradients with nothing grounding your sense of up or down. A slow shutter speed of two or three seconds smooths out residual wind chop and turns the floor into polished slate.
For night sky photography, this plateau is one of the darkest, clearest spots on the planet. High altitude means thin air and almost zero ambient light pollution, which makes the stars burn with shocking clarity. A specialized Salar de Uyuni night tour gives you the chance to shoot the Galactic Core arching directly over the salt, mirrored in stagnant brine pools like a second galaxy under your boots.
Set your camera on a steady tripod with the center column down to reduce wind shake. Dial your ISO up to 3200 or 6400, open your lens wide to f/2.8 or wider, and set your exposure time according to the 500 rule to keep stars sharp. Focus manually using your camera screen zoomed in 10x on a bright planet or distant light on the horizon. The cold will freeze your fingers within five minutes, so keep thin liner gloves under your heavy mittens so you can still operate dials without stripping your hands bare to the sub-zero wind.
Frequently Asked Questions about salar de uyuni photography tour
What camera settings work best for perspective photos?
Set your aperture between f/11 and f/16 to get deep focus, keep your ISO at 100 to avoid noise in the bright sun, and put your camera flat on the salt crust using a wide-angle focal length around 24mm.
Can I photograph Salar de Uyuni with just a smartphone?
Yes, modern phones take sharp daytime photos and handle forced-perspective shots well because of their small sensors and wide natural depth of field. Phones struggle at night for astrophotography and fail to capture distant textures without dedicated wide-angle glass.
How do I protect my camera gear from salt damage?
Keep gear inside sealed bags during drives, never set lenses down on bare salt, wipe your tripod legs down with fresh water every night, and use a lens blower instead of a cloth to remove dust.
Quick Reference
- Altitude: 3,656 meters (11,995 feet)
- Best mirror conditions: January to March
- Exposure baseline: +1.0 to +1.7 EV on dry salt
- Key aperture for perspective tricks: f/11 to f/16
- Night temps: frequently drops below -5°C (23°F)
Book your Salar de Uyuni tour experience:
Before You Pack the Tripod
Taking pictures out here is as challenging as it is rewarding, mostly because your body has to work twice as hard at 12,000 feet while your gear takes a beating from salt and frost. Give yourself time to adapt to the thin air in Uyuni town before booking a full day on the flats. Dress in four warm layers that you can shed as the midday sun beats down, keep your lens glass clean without scratching it, and remember to put the camera down for ten minutes when the stars come out. The vast emptiness of this place looks magnificent on a memory card, but feeling the scale of it with your own eyes is something you will keep long after the equipment is packed away.
Read more about Salar de Uyuni tour.